
HOUSTON'S STUCCO INSPECTION SPECIALISTS
Stucco Check
(713) 319-5751Request an inspection ↗
☰
BEHIND THE STUCCO

Stucco moisture testing in Houston.

Invasive moisture testing uses small probe openings to investigate the substrate behind the stucco. See what happens during testing, how readings are documented, and what to expect afterward.

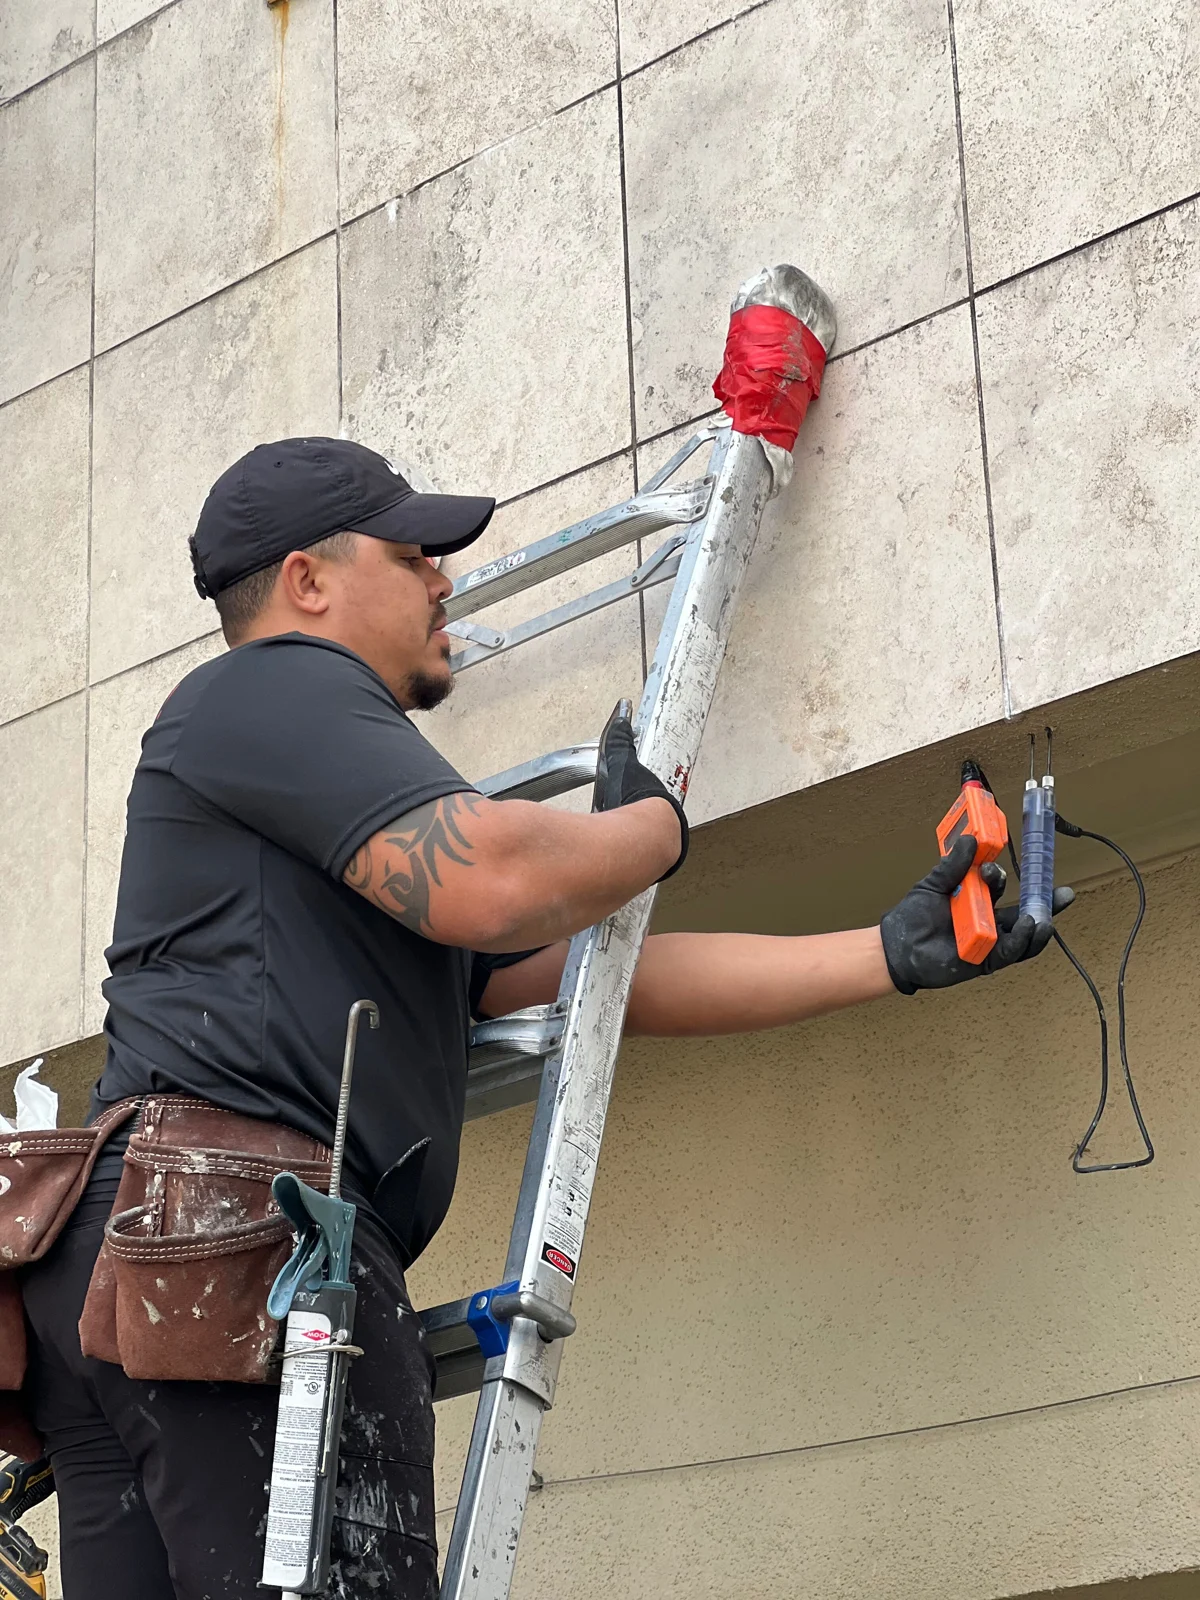
Stucco Check inspector using a moisture meter and probes at an exterior wall
Moisture testing in progress, photographed during a Stucco Check inspection.

Measure at selected locations.

Visible clues help guide the inspection, but moisture may be present behind an exterior that looks sound. Probe testing provides information about moisture at the tested locations and helps us assess the condition of the substrate.

Agree on the scope

We discuss the property, access and test locations, and obtain authorization for invasive testing.

Test behind the finish

Our sample report describes two ¼-inch holes at selected locations, passing through the stucco and water barrier to reach the substrate.

Seal and document

Test openings are sealed after testing. Locations, readings and observations are brought together in the report.

A reading needs context.

Readings are considered alongside the material, visible conditions, substrate assessment and other findings. A high reading does not by itself prove rot, and a lower reading does not rule out hidden issues elsewhere. The report applies to the conditions and locations inspected.
SEE HOW IT WORKS

A small opening.
A deeper understanding.

What happens during an invasive stucco inspection? Step inside the process.

01 / EXTERIOR REVIEWInteractive walkthrough
An exterior wall and the invasive inspection processReview visible conditions, make two small openings, insert moisture probes, seal the openings and document findings. Simplified diagram, not to scale. Selected test locations OUTSIDEWALL INTERIOR 12%WOOD · EXAMPLE StuccoWater barrierSubstrate Your inspection reportPhotos & test locationsMoisture readingsDocumented observationsRecommended next steps
Simplified wall assembly · Not to scale
STEP 1 OF 5

Start with the visible clues.

We examine accessible stucco, windows, doors, flashing and drainage details. Cracks, stains and moisture-prone transitions help guide the test locations.

What to expect

We discuss the inspection scope and obtain approval before invasive testing.

Based on the invasive evaluation described in our sample report. Actual test locations, access and scope depend on the property. The cutaway explains probe access; wall layers are not removed as part of this illustration’s testing sequence.

AFTER TESTING

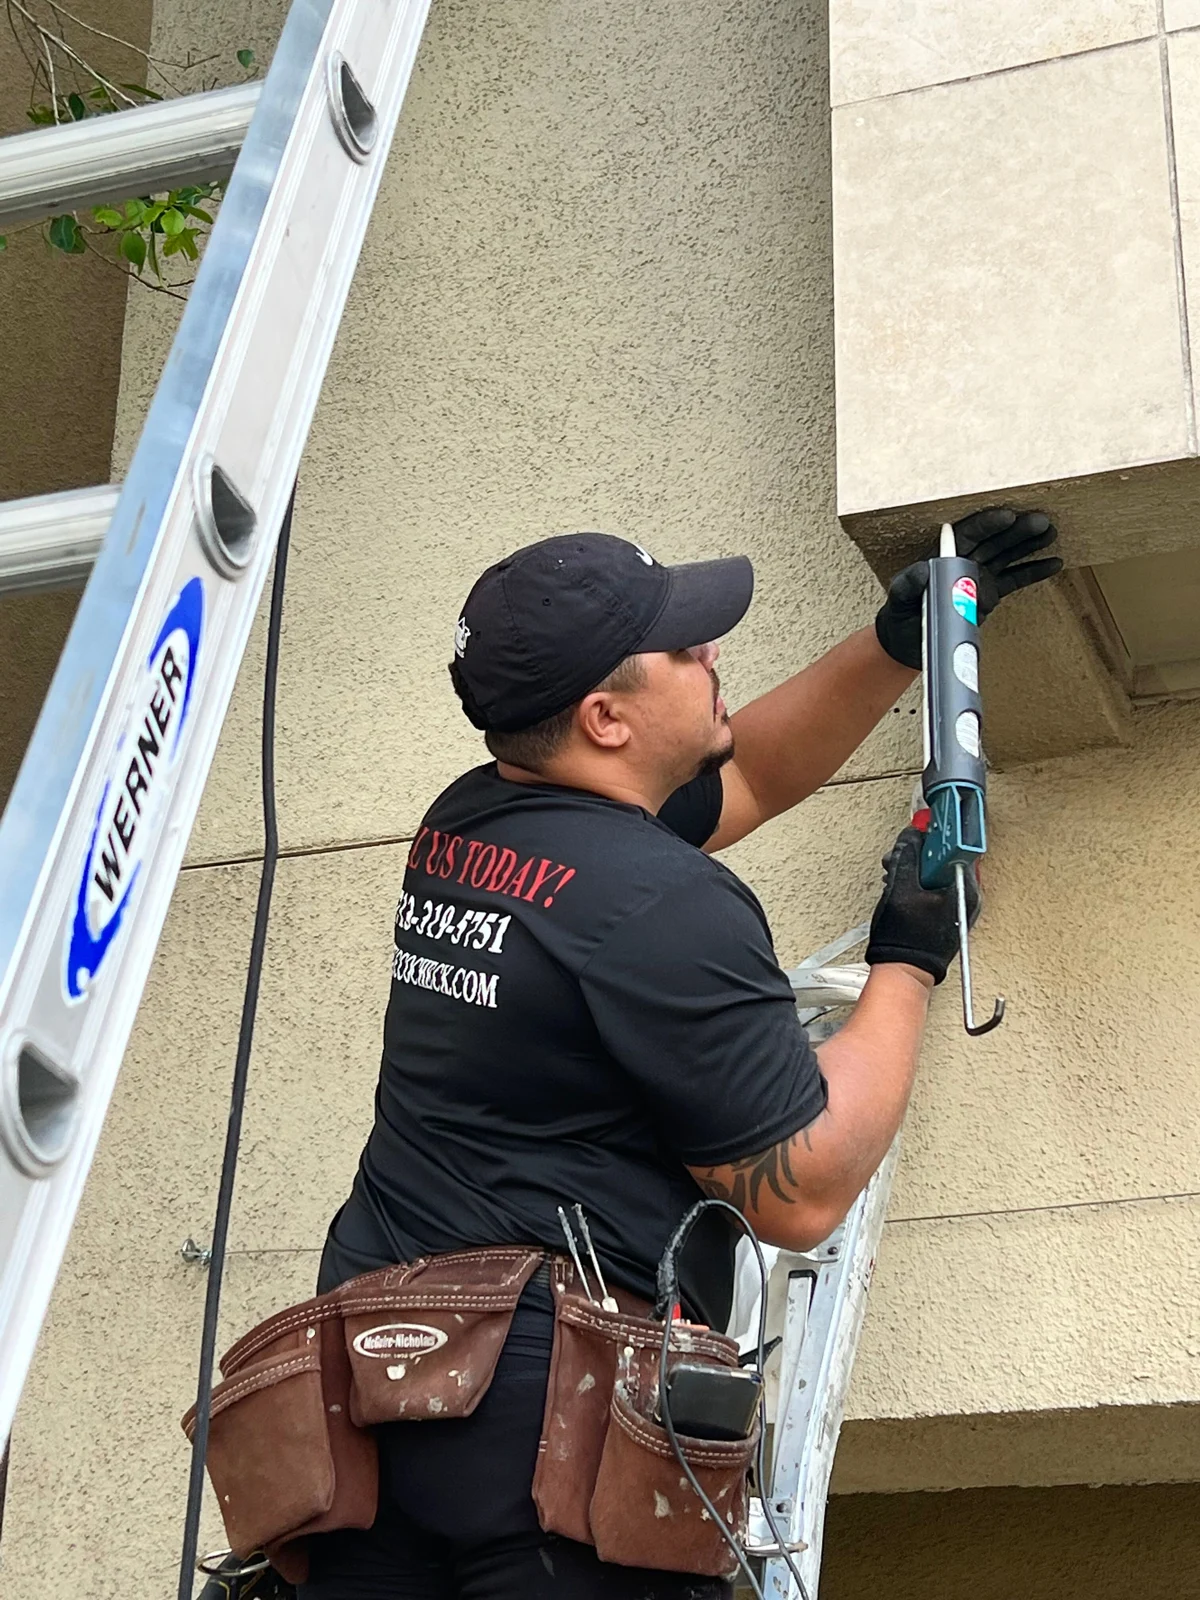
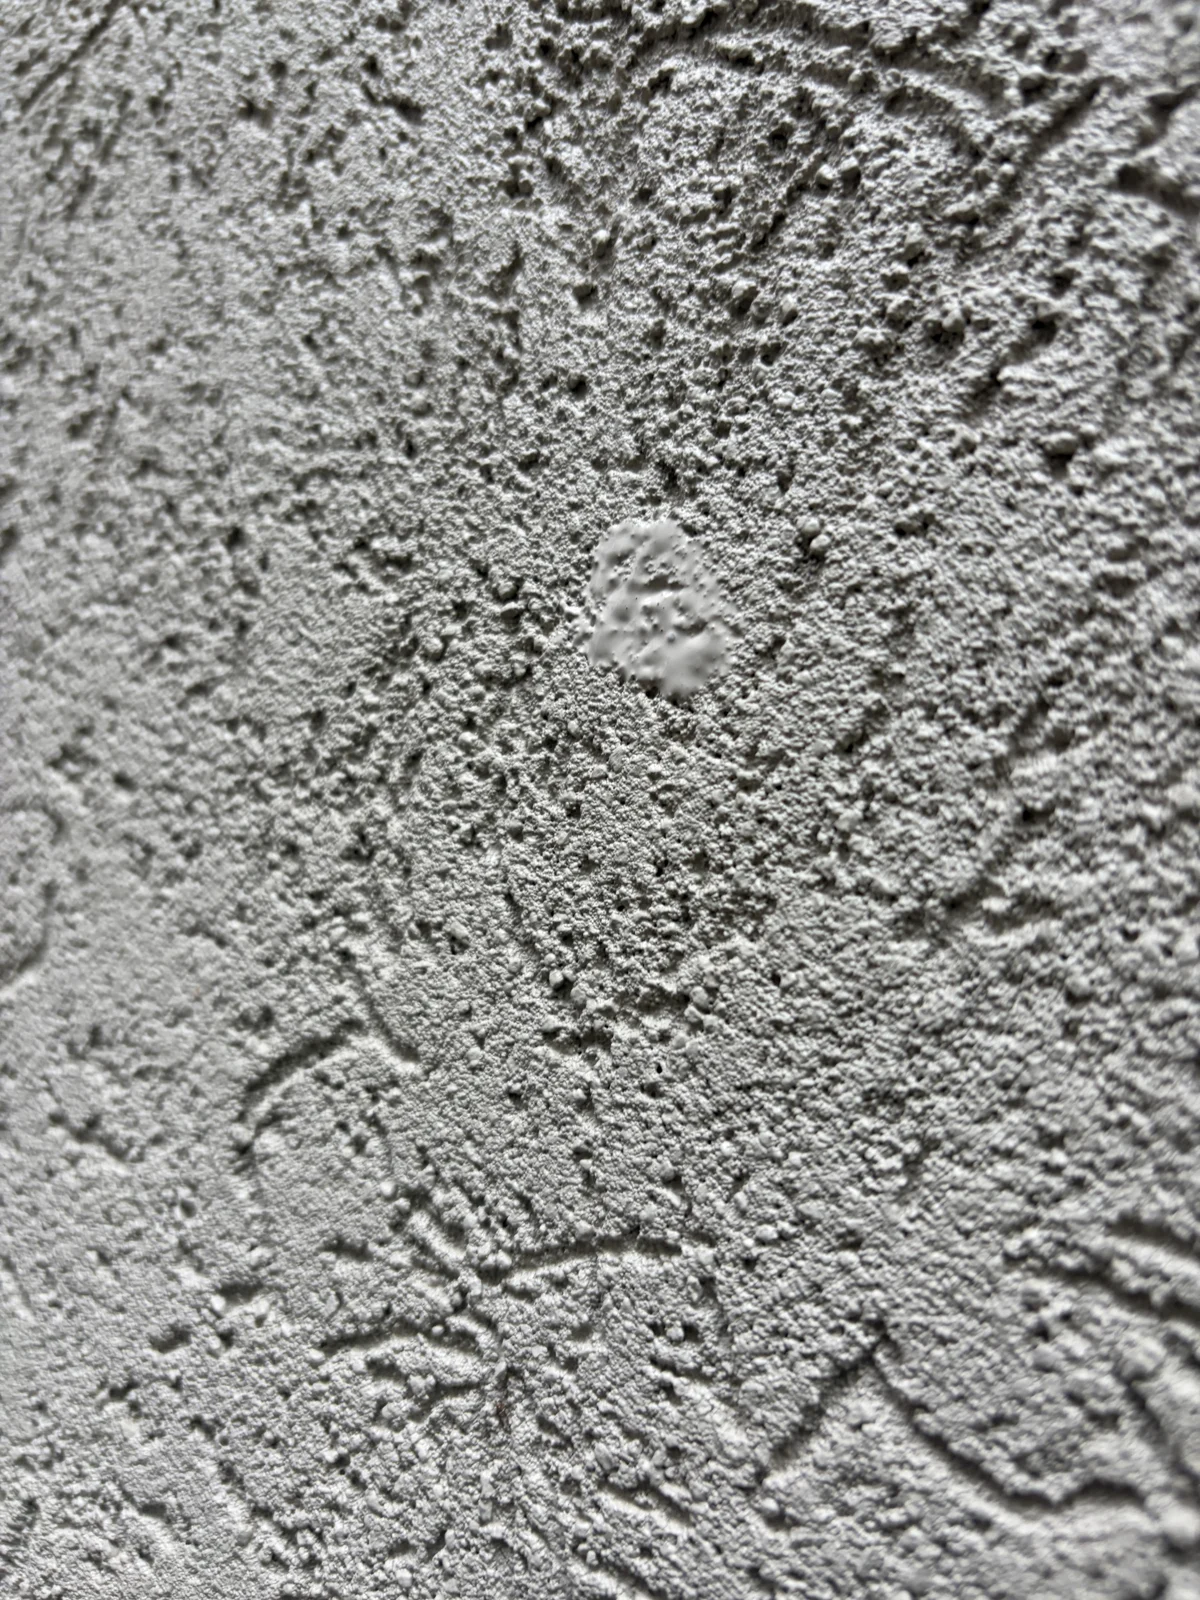
What sealing looks like.

Photos from our inspections show the sealing process and a finished test location. The sealed area may remain visible.

ABOUT THIS SERVICE

Before we visit.

Will there be holes in the stucco?

Yes. Invasive testing uses small openings for probe access. All test locations are sealed on completion. Exact color and texture matches may not always be achieved.

Do you remove large sections of the wall?

The probe-testing process shown here uses small openings. The animated cutaway explains the wall layers; it does not mean those layers are removed during routine probe testing.

Can you test every part of the building?

Access, height, weather and the agreed scope affect what can be tested. The report identifies the inspected areas and relevant limitations.

RELATED SERVICES
Call us ↗Request inspection ↗